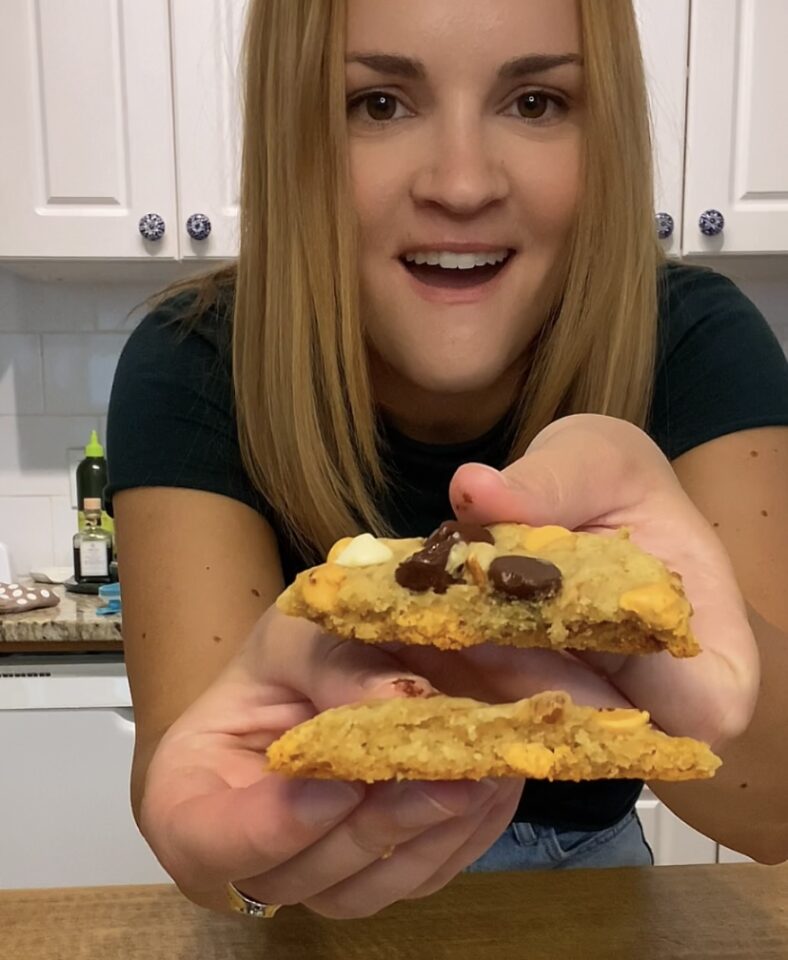
This cookie is the perfect bite of sweet and salty with a surprising secret ingredient: pretzels. Check out how to make these perfectly satisfying, crunchy kitchen sink cookies.
Why Is It Important to Chill or Freeze the Dough?
Baking Hacks for Kitchen Sink Cookies
Difficulty Level: easy
Ingredients
- 1 cup softened butter
- 1 1/4 cup brown sugar
- 3/4 cup white sugar
- 2 eggs
- 1 Tablespoon vanilla
- 1 1/4 Tablespoons baking soda
- 3 cups flour
- 1 tsp salt
- 1/4 cup white chocolate chips
- 1/4 cup butterscotch chips
- 1/4 cup chocolate chips
- 1/2 cup smashed pretzels
- 1/4 cup nuts (optional)
Instructions
-
Cream together the butter, sugar, and vanilla with a whisk or mixer
-
Gently mix in the eggs for just under a minute
-
Add one cup of flour and then mix the dough until well combined
-
Repeat step 4 until all three cups of flour are mixed in
-
Add the baking soda and mix well for about a minute
-
Place dough in fridge for 3-4 hours or freezer for 1-2
-
Preheat the oven to 375 °F
-
Remove your cookie dough from the fridge or freezer
-
Mix the chocolate chips, pretzels, and any other desired toppings into the prepared dough
-
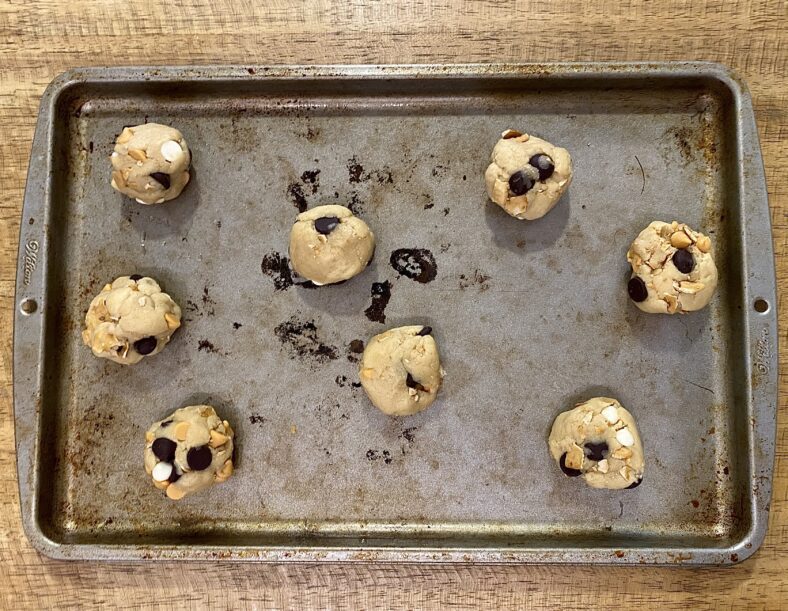
Form small ball shapes about the size of a spoon with your hands
-
Place on a lined or greased baking sheet
-
Bake for 12-15 minutes until lightly golden
-
Let set for about an hour before serving
Have you even been to the incredible bakery section at Panera Bread? Chances are you have been while on a road trip, out for a quick lunch, or on the way to work. One of my favorite desserts they make is called the Kitchen Sink cookie, which is full of caramel, chocolate, nuts, and more.
Whenever I’m craving the ultimate sweet and yet salty treat, I want the kitchen sink cookies from Panera. As a result, I recreated them at home to become the perfect new treat you’ll bake for all of your friends and family. The ingredients are very simple and easy to pull together. The hardest part about this cookie recipe is to be patient as you put time and love into your dough.
The beginning of the recipe is very typical for any chocolate chip cookie. You always cream together butter, sugar, eggs, vanilla, and then mix in flour before the chocolate chips. However, since this recipe has so many toppings that you can add, it’s important to pay attention to the ratios you’re adding to the dough.

For example, we recommend mixing in your toppings after you cool the dough. This ensures that your toppings won’t get soggy before baking. It also helps you determine the ratio of each topping per cookie. The goal is to make each of your kitchen sink cookies full of flavor. Every bite will have a little bit of white chocolate, dark chocolate, butterscotch, and crunchy pretzel. It’s easier to assemble the cookies into balls when it’s chilled and malleable.
ALSO READ: Easy Cinnamon Apple Dump Cake

When learning to bake the best cookies that are chewy on the inside and crunchy on the outside, it was always recommended to chill the cookie dough or even freeze it. This creates extra moisture on the inside of the cookie when you bake it. The cooling turns to moisture in the oven, which creates the perfectly dense and chewy center.
The amount of time you choose to cool your dough is entirely up to you. It can help to do so overnight, but if you only have an hour, expedite the process by using the freezer instead of the fridge. You can also bake half of the cookies and then leave the other half in your freezer for another day.
The high yield size is one of my favorite things about these kitchen sink cookies because you can serve a large number to a party, or, save the rest for later. It’s more fun to bake these cookies knowing that you only have to make the dough once and then can end up with 25 or more cookies over time.

When making this recipe, I decided to try an experiment. After I baked half of the dough in the oven, I froze an entire bag full of dough balls ready to go for the next time I decide to make them. That’s when a thought popped into my head; could I take one frozen piece of dough out at a time and microwave it?
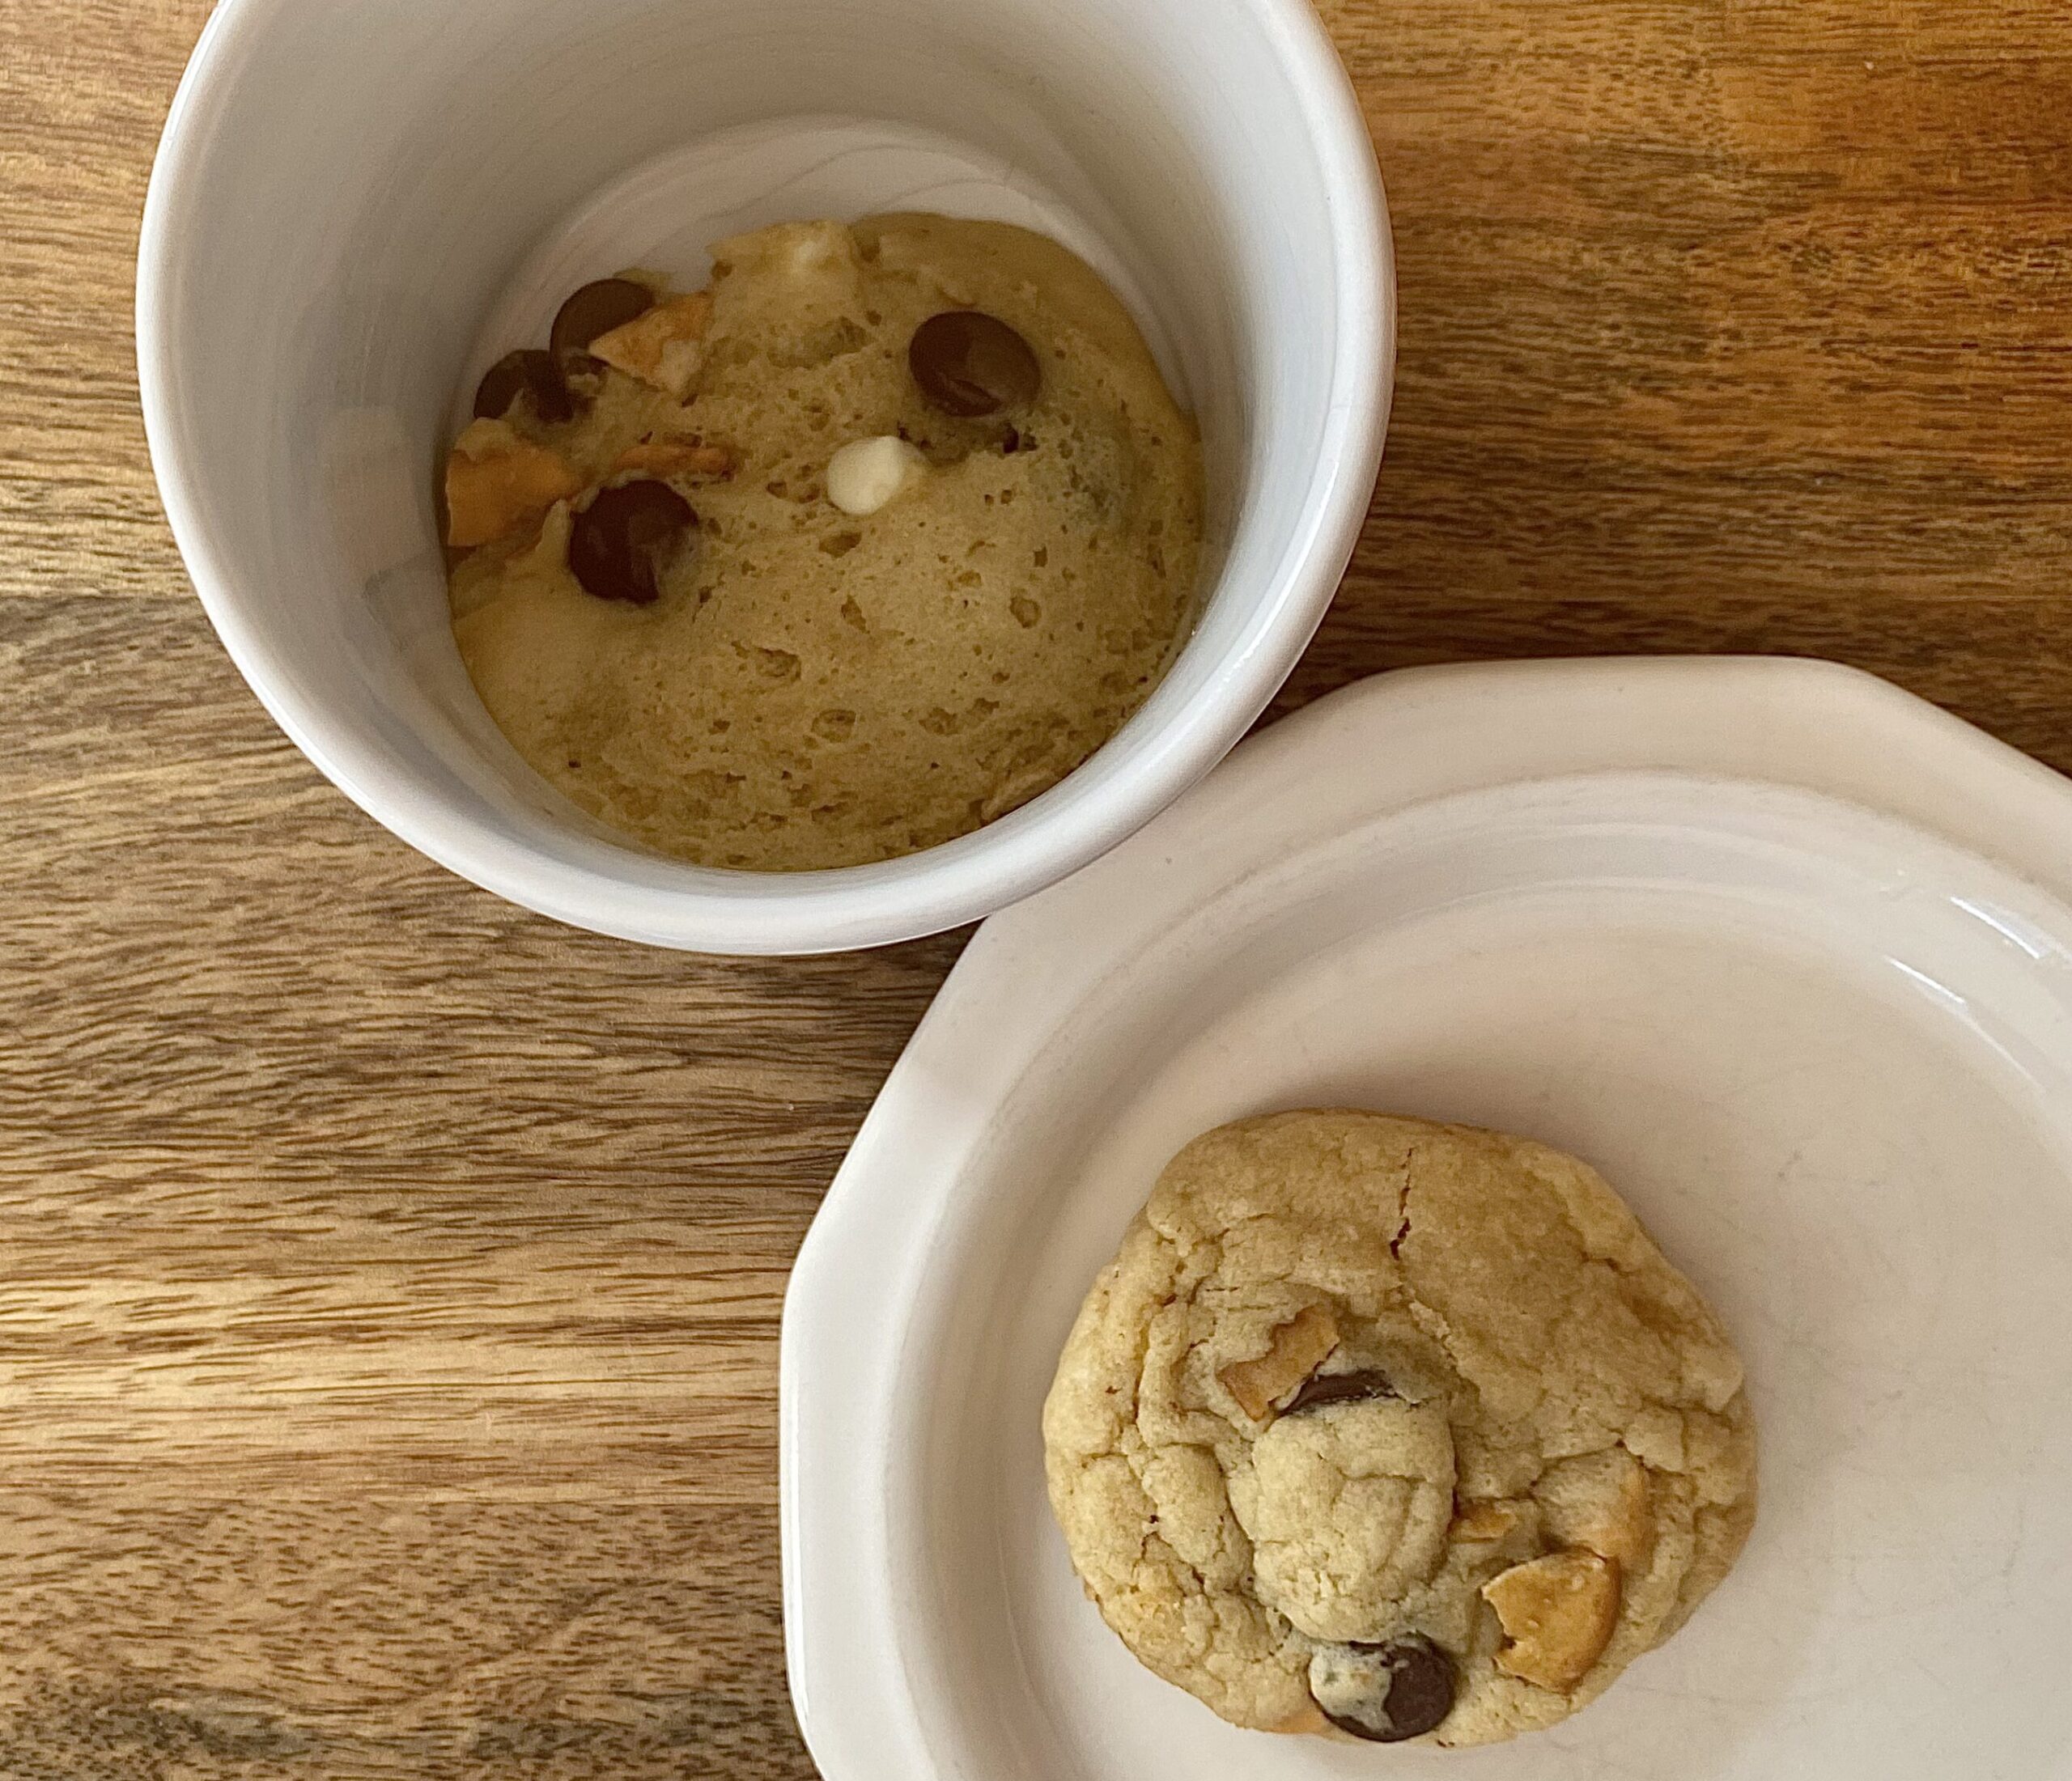
I did a side by side comparison to see if the microwave cookie hack would work on this recipe. The microwave cookie is sitting in a mug and the one I baked in the oven is on the plate.
As you can see, the microwave baking actually did work. The cookie is stiff and cooked all the way through. However, it doesn’t look quite as good as the cookie baked in the oven. It was much softer than the oven example, which makes sense because after only 30 seconds in the microwave, it didn’t have time to get crispy.
Ultimately, if you’re in a pinch, or only want to make one cookie for dessert, you can absolutely try my microwave hack. It’s amazing if you eat it warm and them top with a bit of vanilla ice cream. Otherwise, baking in the oven is always a win that will give you that perfect cookie presentation.
All in all, I highly recommend my kitchen sink cookies for a sweet and yet salty bite that is unique as compared to most cookie recipes I’ve tried.
Explore More:Recipes
